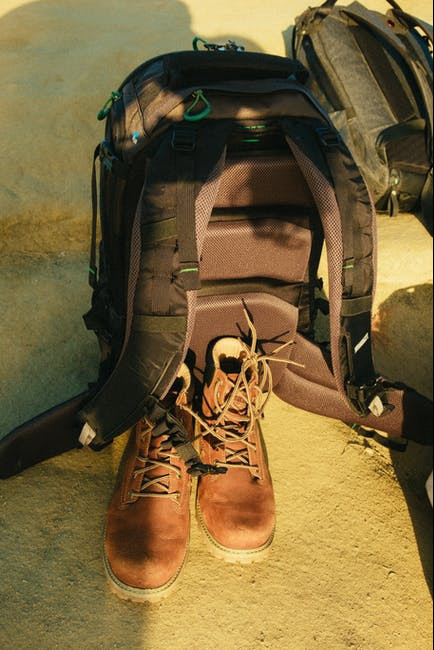
Get your Camping Backpacks at Camping Maxx!
Gear Up for the Season with Award Winning Gear at Eastern Mountain Sports.
As an Amazon Affiliate, I earn from qualifying purchases.
In this article, we will be looking at different types of hiking backpacks. We can then narrow down the categories, determining exactly how to choose the perfect hiking backpack to fit YOUR particular needs. In order for us to even know where to begin choosing a backpack, we should have an idea of when and where we will be hiking, and also knowing how long we intend to be on the trail. We will also need a pack that fits us properly and has a suspension system that handles our bodies and the weight we put on it.
ToyRis Hiking Waist Belt Fanny Pack with Water Bottle Holder
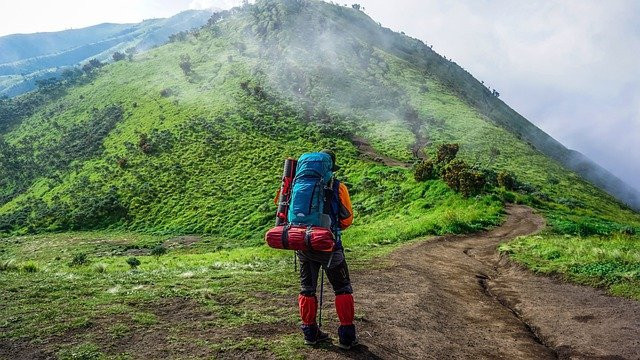
There are so many sizes and types of backpacks – we have choices ranging from fanny packs and day packs all the way up to large backpacks designed for being on the trail for 6 months! Over the last 20 years, hiking backpacks have gotten smaller, thanks to technology creating much lighter tents, sleeping bags, stoves, and other hiking and camping gear.
Backpack Volume We can narrow our search for the correct size backpack by checking out the volume the pack holds. Pack Volume informs us how much space there is inside the backpack. The Pack Volume is usually measured in liters, or sometimes in cubic inches. Once we determine just what type of hikes we will be taking on, and how long we plan on being on the trails, we can then choose a hiking backpack to fit our needs. Below is a chart showing backpack volumes along with how long you can be on the trail with that particular pack.
BACKPACK VOLUME IN LITERS ACTIVITIES
15 – 30 Day Hikes, School
30 – 50 Overnight (1 to 2 Nights)
45 – 55 Weekend (2 to 3 Nights)
55 + Extended Trips (3 + Nights)
If the hiking backpack you are interested in happens to use cubic inches as a measurement, below is a chart to figure out what size backpack you will need based on this type of measurement. Some backpack manufacturers include both backpack volume in liters as well as cubic inches to help us determine our correct size pack. This chart uses Liters (L) Cubic Inches (IN) x 3
Liters (L) Cubic Inches (in³) 10 610 15 915 20 1220 25 1526 30 1831 35 2136 40 2441 45 2746
Liters (L) Cubic Inches (in³) 50 3051 55 3356 60 3661 65 3966 70 4272 75 4577 80 4882 85 5187
Regardless of how long we plan to be hiking and/or camping, we should ALWAYS pack a tent, sleeping bag, sleeping pad, and a stove. An extra change of clothes wouldn’t hurt either, just in case we run into inclement weather.
PROPER BACKPACK FIT: DETERMINING YOUR TORSO LENTH
It is VERY IMPORTANT to make sure we choose the correct hiking backpack o fit our individual torso lengths. Remember – our torso length is NOT based on our height. A tall person could have a short torso, while a shorter person could have a longer torso. We need to measure our torso length by first reaching behind our necks, bending our heads, then locating our C7 Vertebra. The C7 Vertebra is the bone that sticks out the most on our upper spines. Next, locate our Iliac Crest. This area is located at the top of our hip shelf on the sides of our hips. Finally, we will need to have someone measure the distance from our C7 Vertebra down to the point on our backs that is at the same level as our hip’s Iliac Crest, using a cloth measuring tape.
There are some hiking backpacks that offer an adjustable torso length. On these packs, the distance between the shoulder strap and the hip belt can be shortened or lengthened. Some backpacks have fixed torso lengths, while still other packs are offered in multiple sizes, meaning the torso lengths may vary from one size to another.
SELECTING THE PROPER SUSPENSION
Once we have determined our proper pack volume and torso size, it is now time to focus on the importance of the backpack suspension. The suspension is what will make it possible to carry the weight of our backpacks comfortably. There are quite a few components that go into the makeup of the susupension, so let’s take a look at these now.
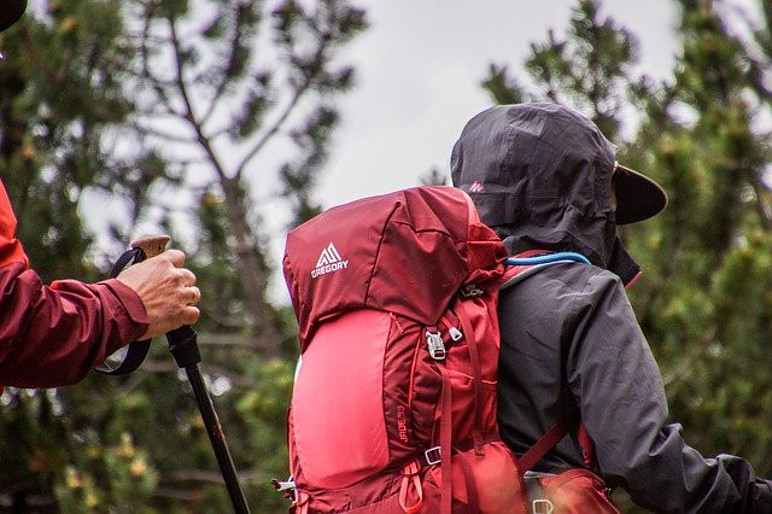
HIP BELT
When we carry heavy packs, the majority of this weight – as much as 80% of the pack’s weight – will be supported by the hip belt. Large backpacks that are designed for long-distance hiking use a rigid, heavily-padded hip belt. Smaller packs that are designed for lighter loads will have hip belts with less padding, while daypacks may be composed of a webbing waist strap without any padding.
In order to properly handle the backpack weight, our hip belts need to be centered over our hip bones, not our waist, and the fit will be very snug. Once our hip belts have been tightened securely, we should have a 3 – 6 inch gap between the padded parts of the hip belt over the buckle area. If the gap is too small or too large, we may need to look at another type of backpack.
MOLDED HIP BELTS
Osprey makes BioForm and IsoForm custom hip belts that you can have heated up, then molded to your hips, which will create perfect fit. If you happen to shop at an Eastern Mountain Sports Store, most of them have ovens, and they will gladly heat the hip belt for you. If you don’t have a Sports Store nearby, your body heat will eventually mold your hip belt to your exact fit over a period of time.
SHOULDER STRAPS
The best shoulder straps curve to conform to your particular body shape. The padding in the shoulder straps does not have to be real thick, since most of the backpack weight will be transferred to the hip belt. Just be sure the shoulder straps are comfortable, and do not chafe or pinch you.
STRAP FIT
When trying on our backpacks, we should stand sideways to a mirror, and check to make sure the straps conform to our shoulders. There should be very little to no air space between our bodies and the pack. In our fronts, the strap padding needs to end about 3 inches below our armpits – if the padding ends at or above our armpits, the straps are too short, and we will need to look at another backpack or different size shoulder straps.
LOAD-LIFTER STRAPS
These straps attach the top edge of your backpack to the upper part of the shoulder straps. You can adjust the load-lifter straps to lean your pack away from or towards your upper body while the pack will still be balanced over your hips with the hip belt. While standing sideways, look in a mirror to ensure the load straps form a 45 degree angle to the top of the backpack.
STERNUM STRAP
This strap is adjustable, and connects the shoulder straps to keep your pack steady.
BACK PANEL
This part of your back will be pressing against your back. Your back panel should definitely be well padded to items in your pack will not be digging into or poking at your back. The only problem with the padding is that it will make your back sweat. To counter this, there are some manufacturers who are putting air channels in the back panels to give some air flow. It will also benefit you to have a back panel that is constructed of an air-mesh porous foam.
FRAME CONPONENTS
Internal frame backpacks provide rigidity and help transfer the load to our hips. Frames normally consist of 2 composite or aluminum stays, or flat bars, that run parallel to each other underneath the back panel. Some backpacks have 2 metal stays, or flat bars, that cross in an X-pattern, while others consist of thin metal rods that create a frame, and they can be located either behind the back panel or along the pack’s perimeter.
FRAMESHEET
A framesheet is usually constructed of plastic, and is located behind the padded back panel. It is used along with a metal frame to create vertical and torsional rigidity in the backpack.